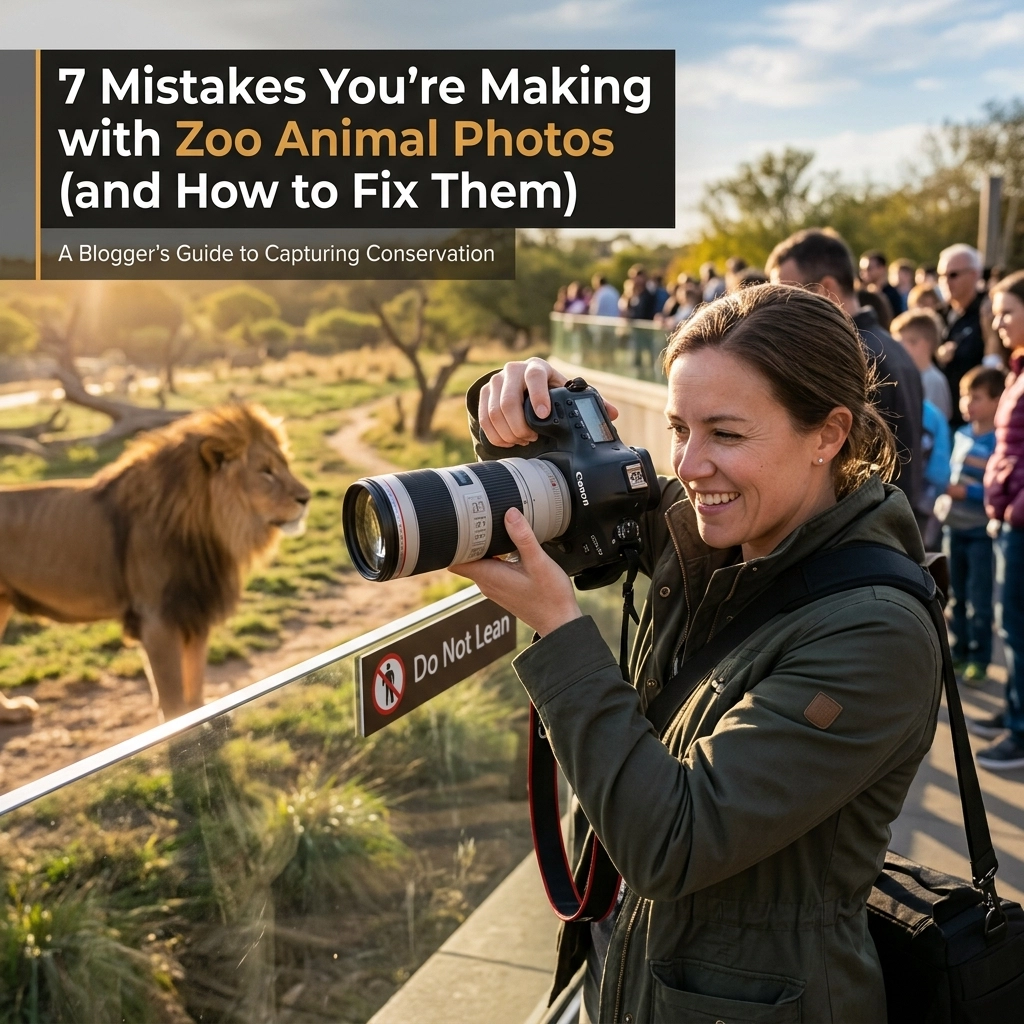
7 Mistakes You’re Making with Zoo Animal Photos (and How to Fix Them)
Capturing the perfect animal shot is hard. Zoos present unique challenges. Fences. Glass. Crowds. Bad lighting.
Most people walk away with mediocre photos. They look like "zoo photos" rather than wildlife portraits. At Zoo Imagery, we specialize in high-end digital media that removes these barriers. We provide stock photography that looks like it was taken in the wild.
If you are taking your own photos for social media or marketing, stop making these seven common mistakes.
1. Including the Human Element
Fences ruin the illusion. Signage distracts the viewer. A green trash can in the background pulls focus from a tiger.
The Fix:
Use a long lens. Set your aperture wide (f/2.8 or f/4). This creates a shallow depth of field. It blurs the background into a soft wash of color. If you are shooting through mesh, get the lens as close to the wire as possible. The camera will "see through" the fence.
Wait for the animal to move away from the back wall. Clean backgrounds create professional results. If the background is too cluttered, check out our stock library at zooimagery.com. We provide clean, distraction-free assets.
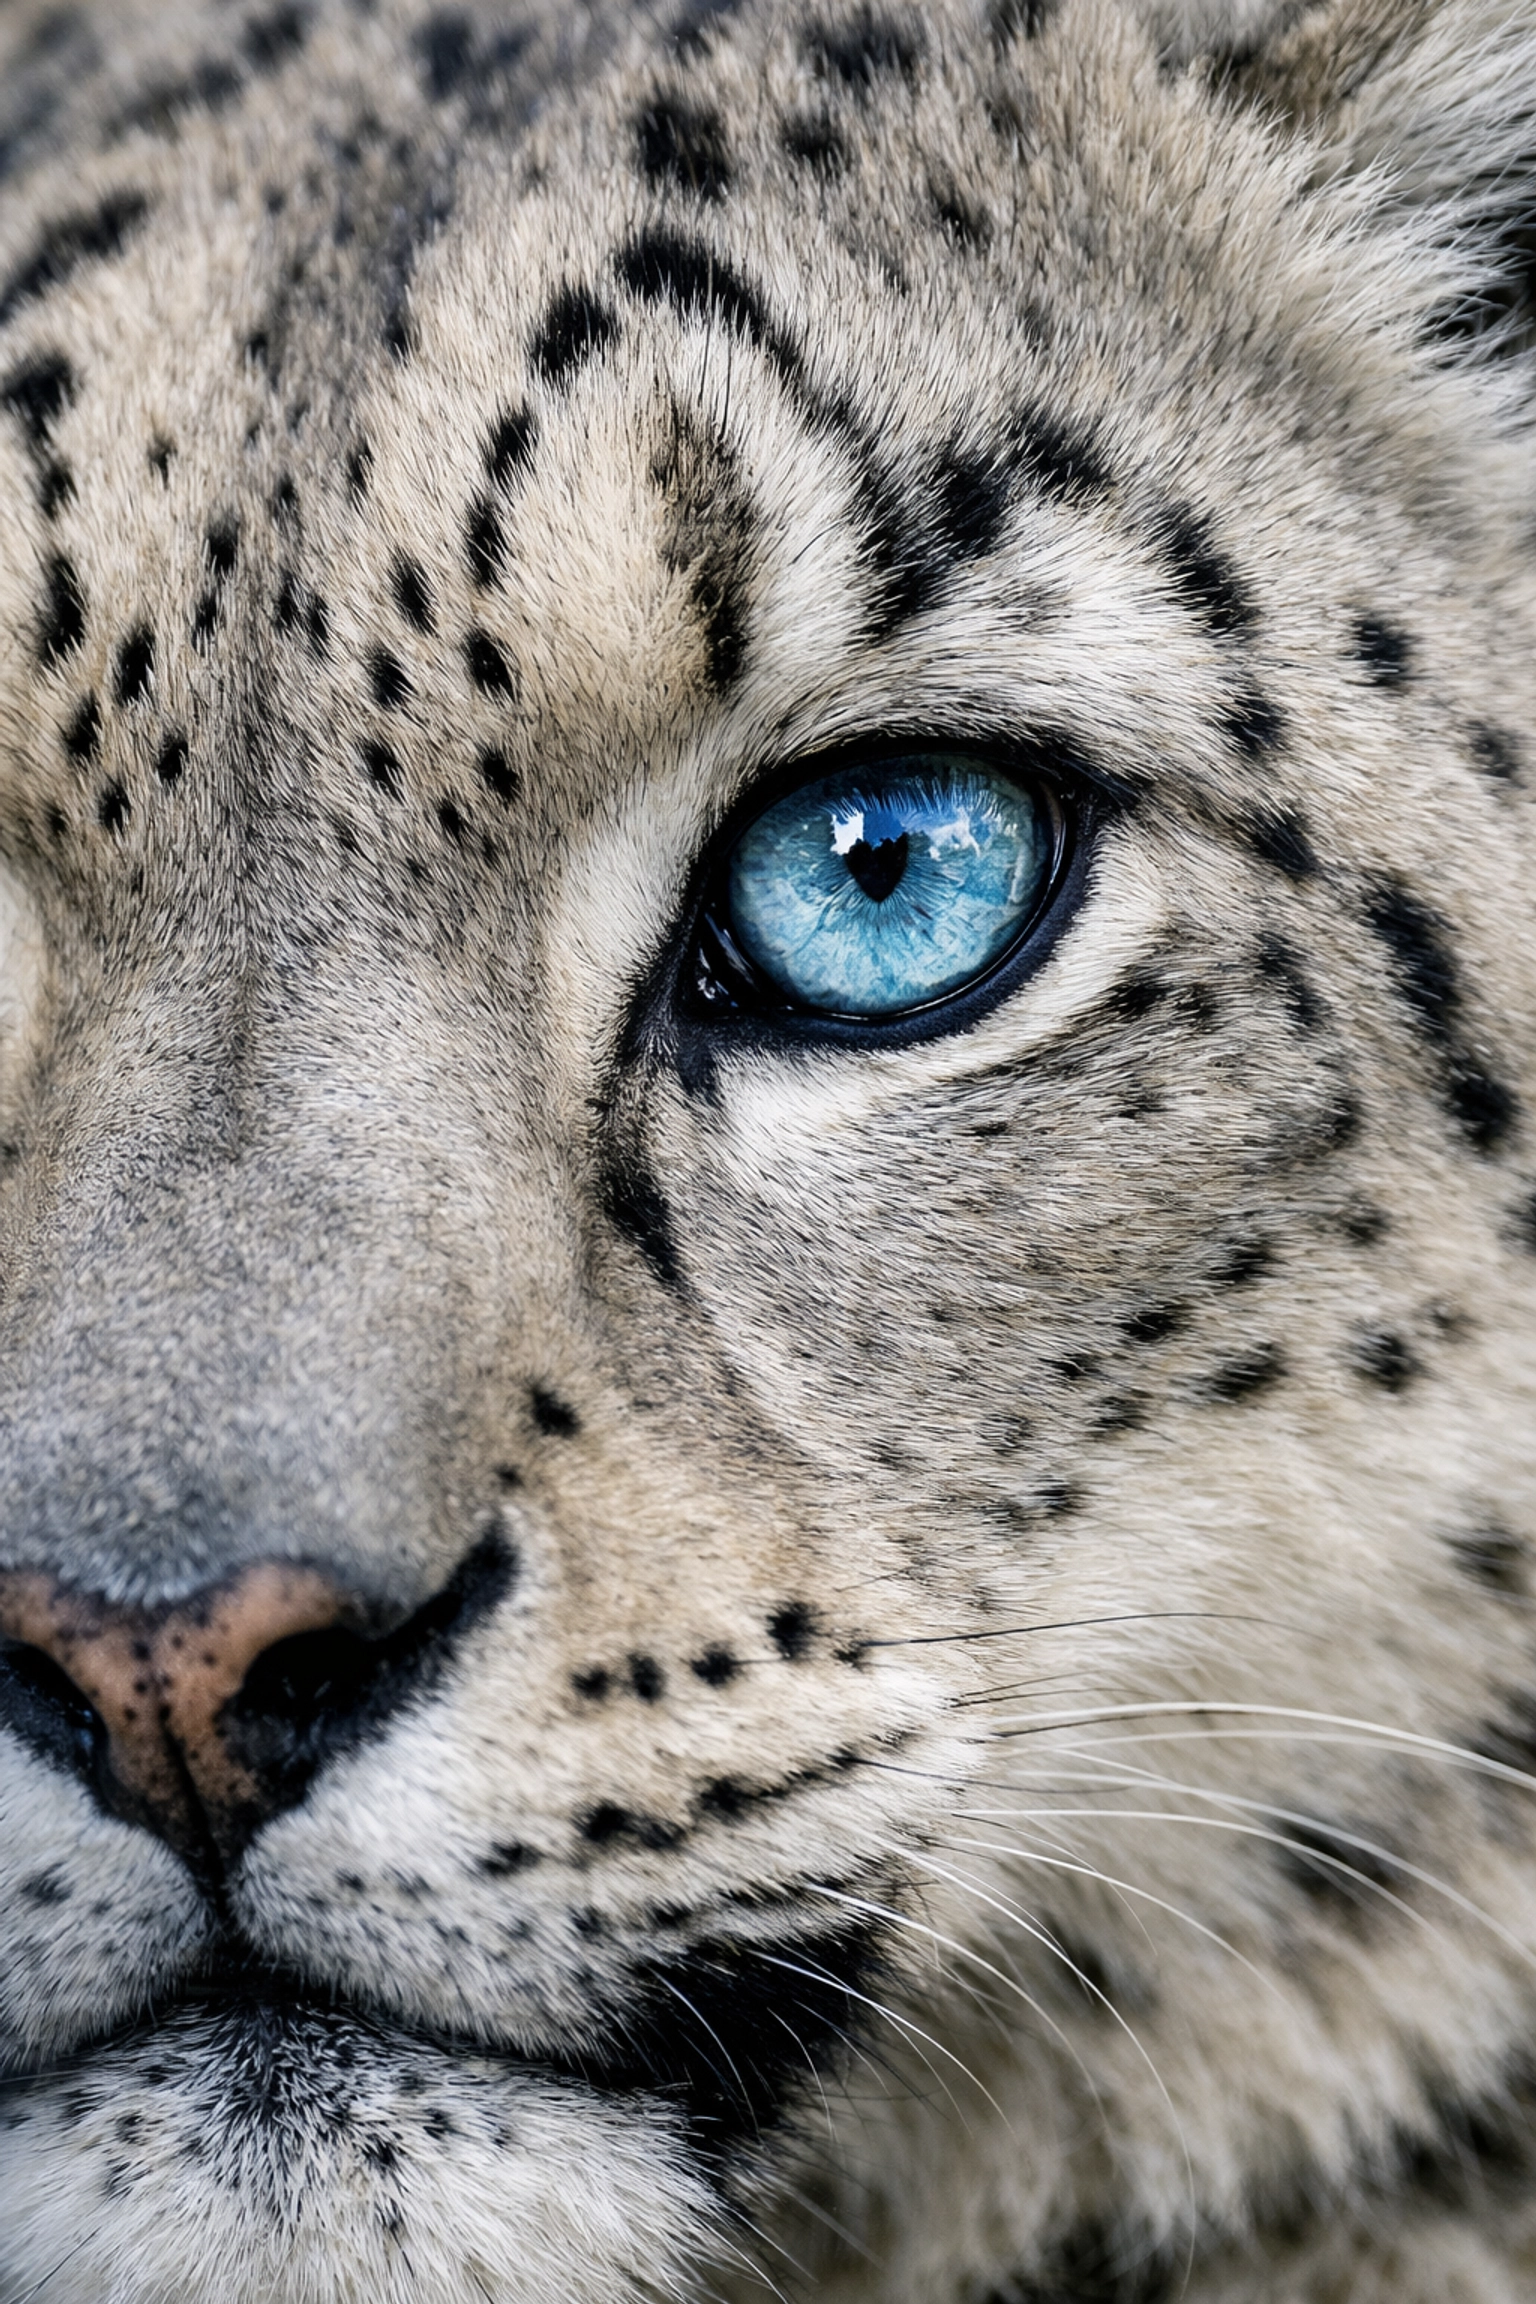
2. Letting the Camera Decide the Focus
Autofocus is smart, but it’s lazy. In a zoo, it will lock onto the fence or a leaf in the foreground.
The Fix:
Switch to single-point autofocus. Move that point directly onto the animal’s eye. If the eye isn't sharp, the photo is a discard. For moving subjects, use continuous autofocus (AI Servo or AF-C).
Sharp eyes create a connection. This is vital for "Presented by" animal pages. When a sponsor's brand is next to a powerful, clear-eyed portrait, the impact is immediate.
3. Ignoring the Light
Midday sun is harsh. It creates deep shadows in eye sockets and "blows out" white fur. A white rhino or a polar bear becomes a featureless white blob in bright sun.
The Fix:
Shoot during the "golden hours": early morning or late afternoon. If you must shoot at noon, look for animals in the shade. Check your histogram. Ensure the graph isn't hitting the far right side.
Use negative exposure compensation (-0.3 or -0.7) to preserve detail in bright highlights. Proper exposure is the difference between a snapshot and a gallery-grade image.
4. Centering Everything
Placing the animal's face directly in the middle of the frame is boring. It feels static and clinical.
The Fix:
Apply the rule of thirds. Imagine a grid on your screen. Place the animal’s eyes on one of the intersections. Give the animal "lead room." If the wolf is looking left, place it on the right side of the frame so it has space to "look into."
Good composition tells a story. It invites the viewer to stay longer. This is exactly what we do with our sponsored species spotlights. We frame the animal to draw the viewer into the narrative of conservation.
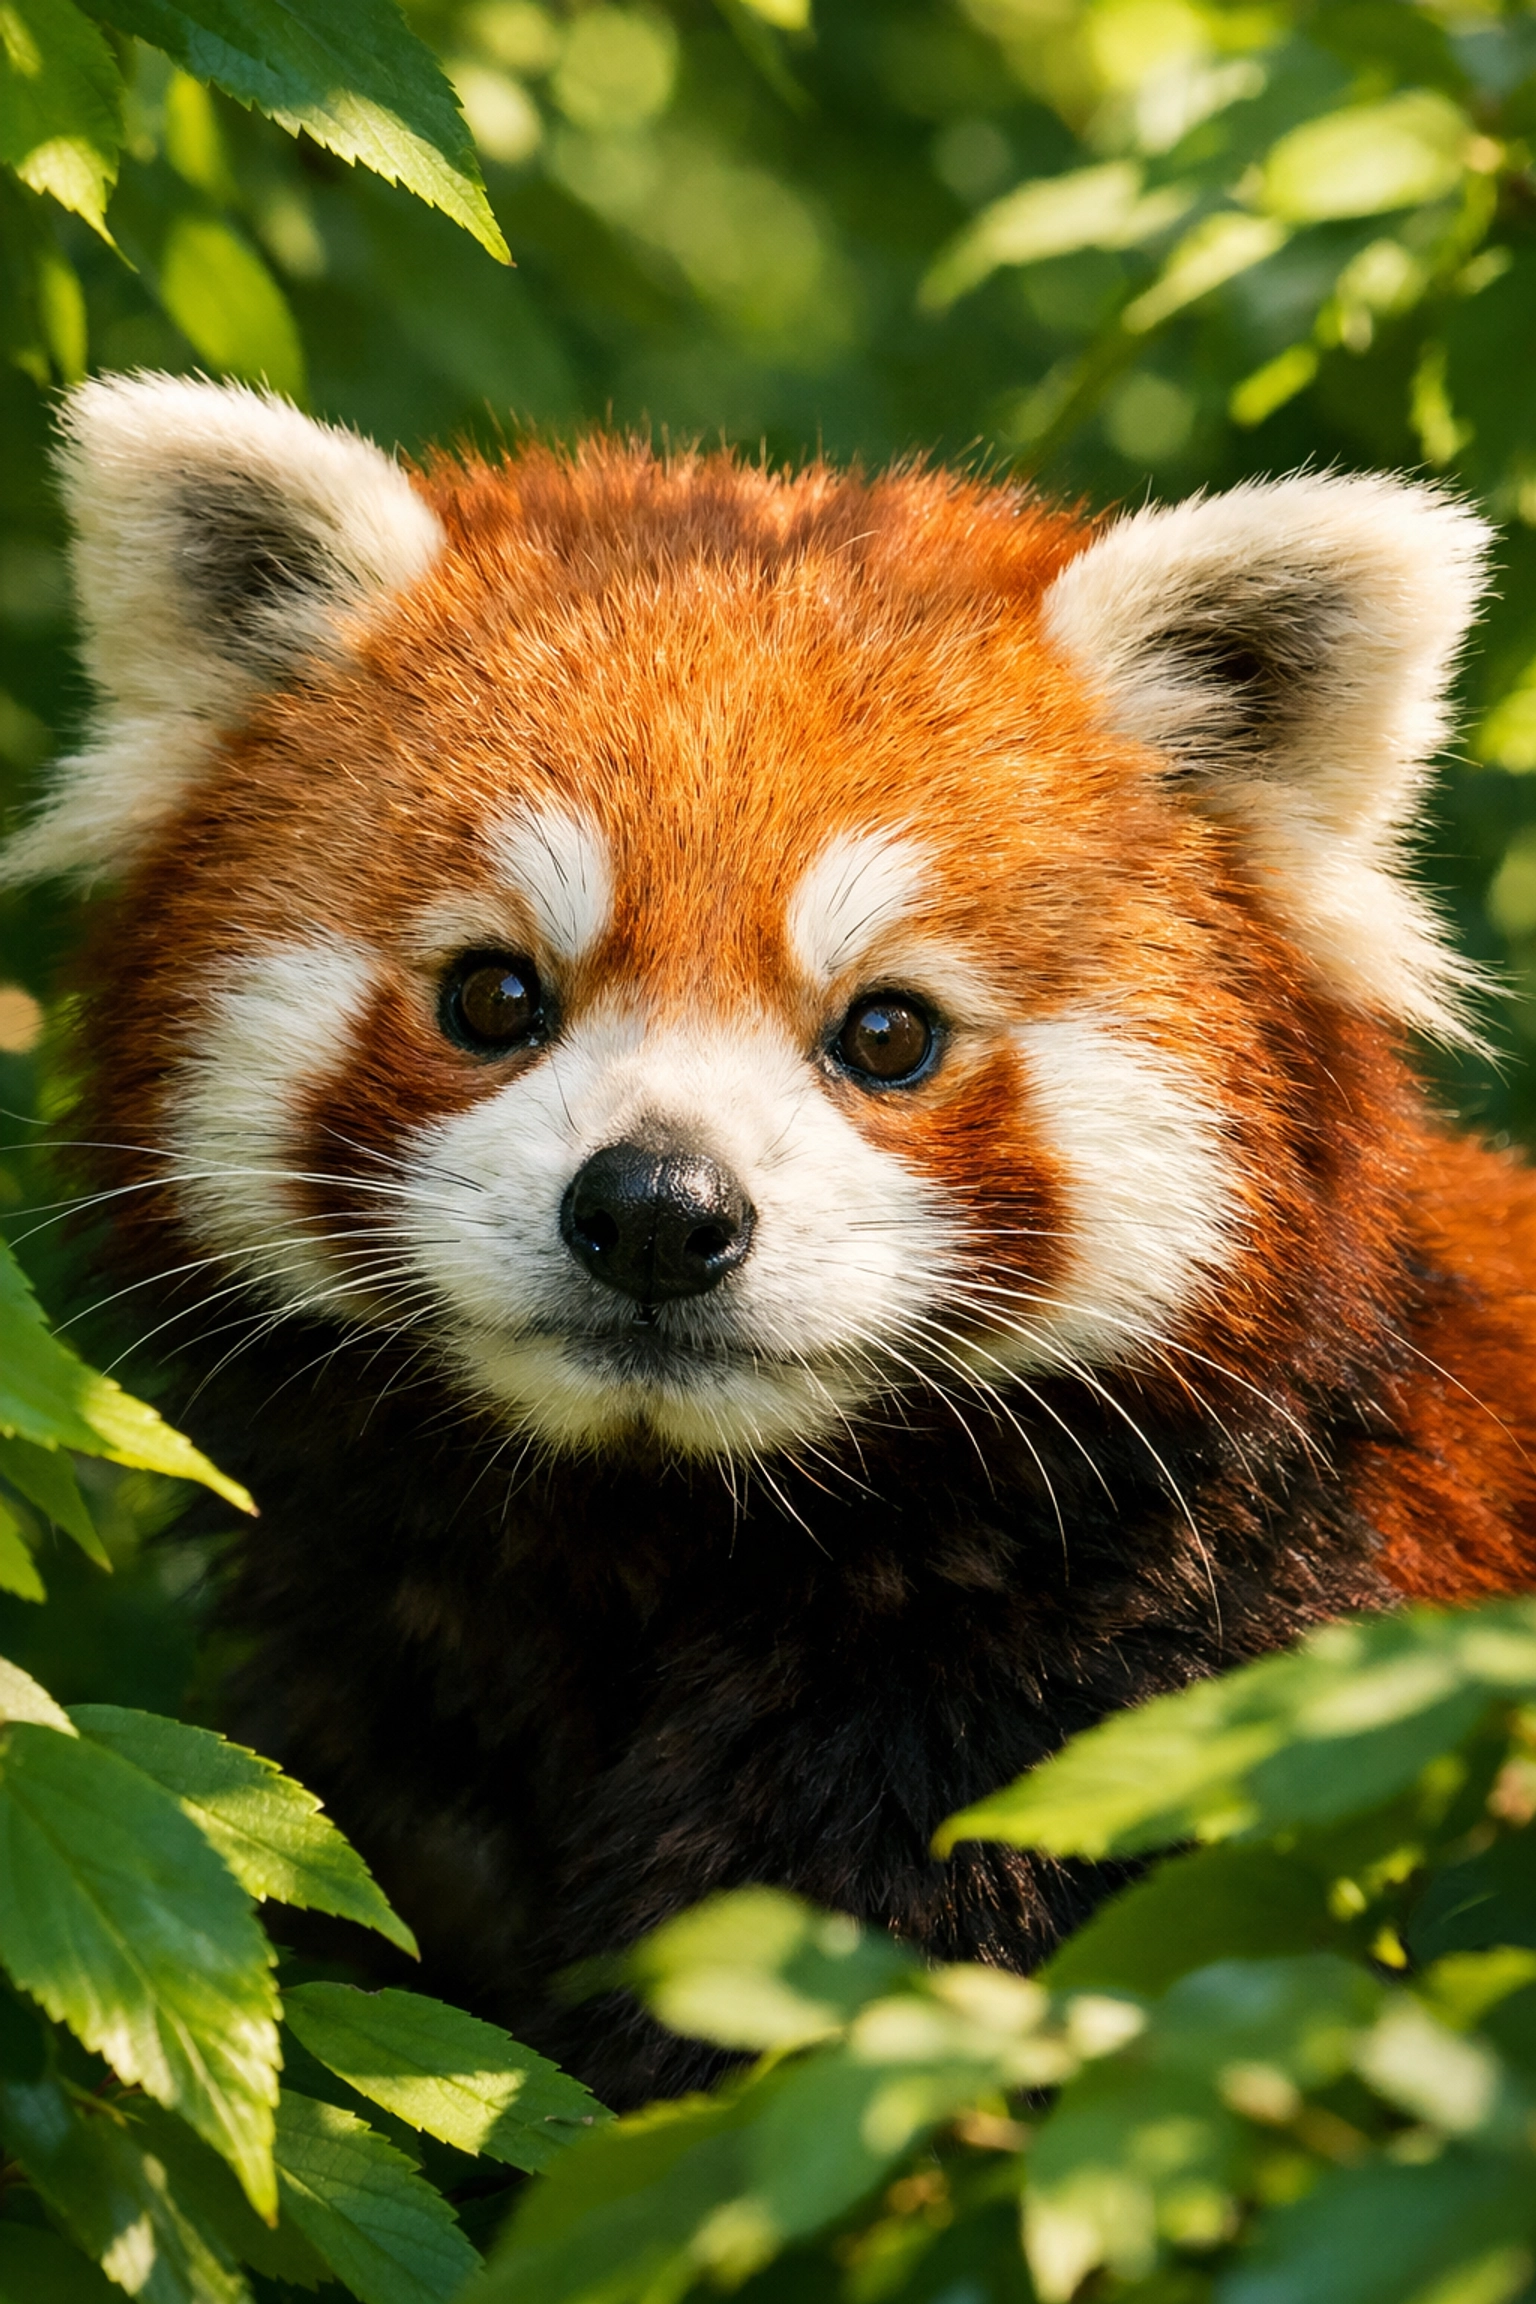
5. Staying Too Far Away
Small animals in big frames look lost. If the viewer has to squint to see the red panda, the photo failed.
The Fix:
Use a telephoto lens. 300mm is the minimum for serious zoo work. 400mm or 500mm is better. Fill the frame. Detail matters: the texture of scales, the individual hairs of a mane, the moisture on a nose.
If your gear can't get you there, don't crop a low-res phone photo. It will look pixelated and unprofessional. Visit Zoo Imagery to access high-resolution assets that are already tight and impactful.
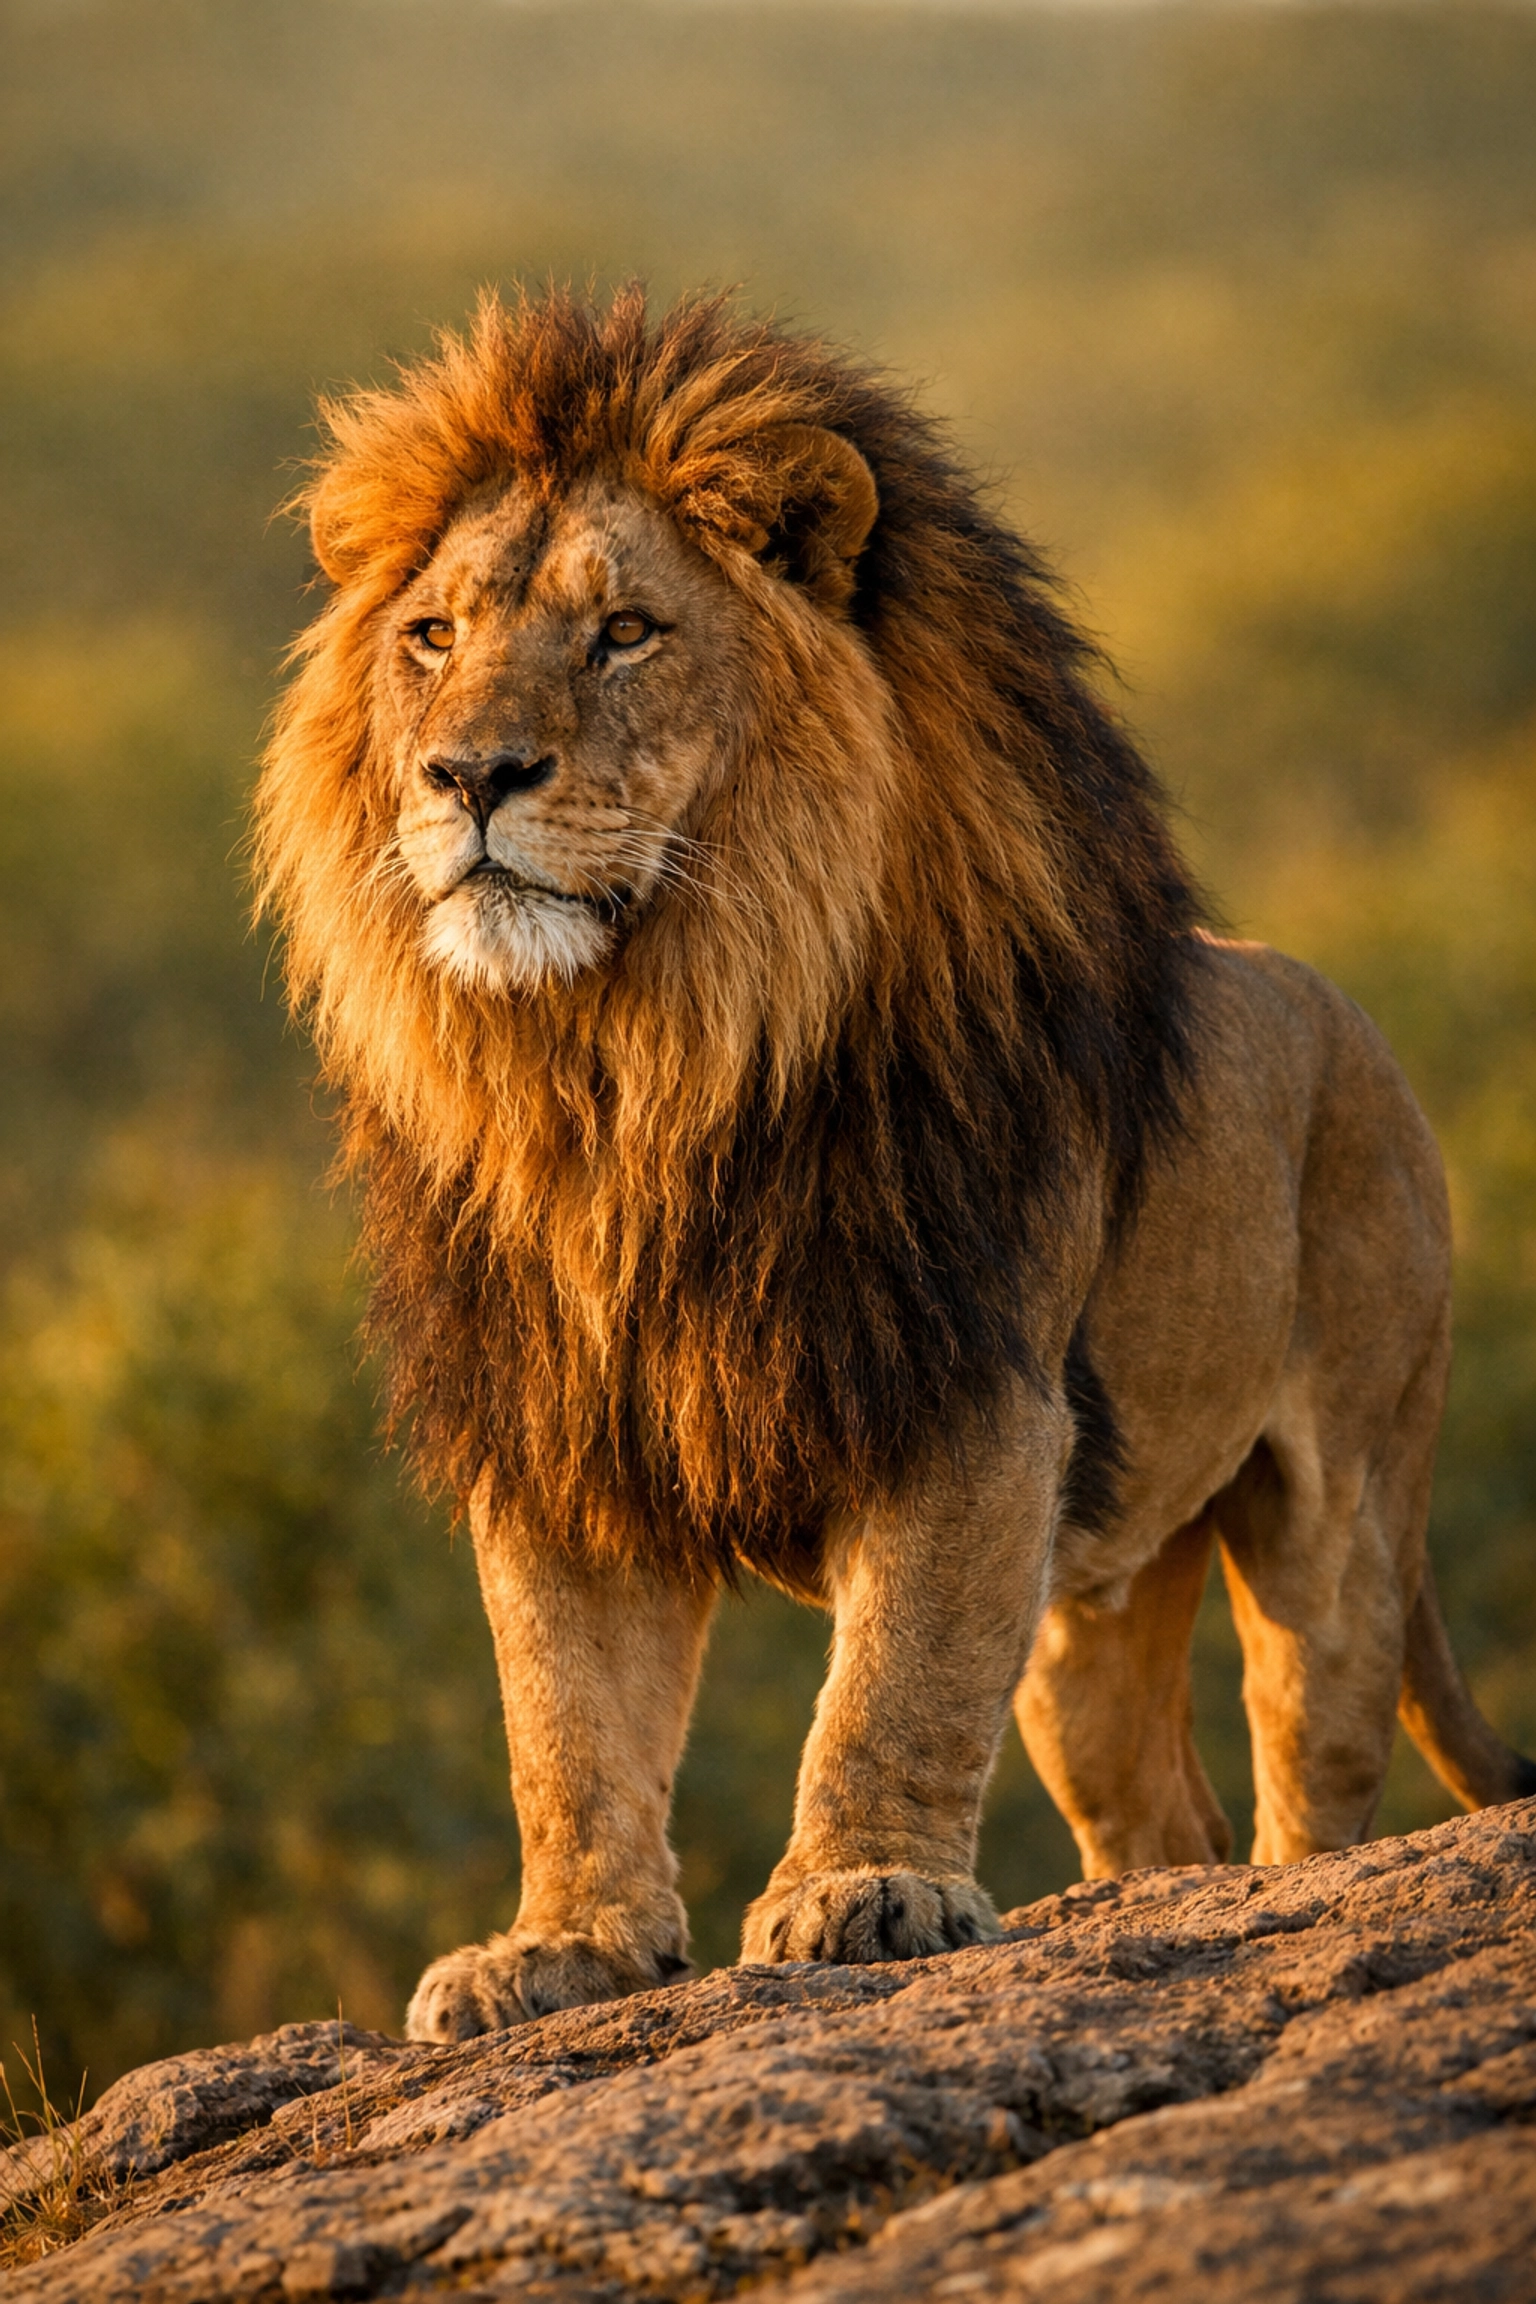
6. The "Butt Shot"
Animals spend a lot of time walking away or sleeping with their backs to the public. Many photographers get impatient and take the shot anyway.
The Fix:
Patience. It is the most important tool in your bag. Wait for the turn. Wait for the animal to look up. Front-facing shots engage the audience.
At Zoo Imagery, we spend hours waiting for that one moment of eye contact. Our stock photos prioritize this connection. Whether for a blog post or a website header, a front-facing animal creates trust.
7. Capturing Boredom
A lion sleeping is natural, but it’s rarely a "hero" shot.
The Fix:
Research the behavior. Know the feeding times. Watch for enrichment activities. Capture the animal interacting with its environment or other animals.
Action shots drive engagement. They work perfectly for digital media campaigns. A splashing penguin or a leaping lemur is far more shareable than a stationary one.

Why Quality Imagery Matters for Your Brand
Your photography represents your standards. Whether you are a zoo curator, a marketing manager, or a corporate sponsor, the quality of your visuals reflects the quality of your mission.
"Presented by" Animal Pages
We help zoos create dedicated pages for specific species. These pages are "Presented by" corporate partners. High-quality imagery is the foundation of these partnerships. It provides the sponsor with a beautiful, professional space to align their brand with wildlife.
Sponsored Species Spotlights
Want to highlight a specific conservation effort? A sponsored species spotlight uses professional media to focus attention on a single animal. It removes the "amateur" look of standard zoo photos and replaces it with world-class photography.
Digital Media & Stock Photography
Zoo Imagery provides a simple solution for organizations that need consistent, professional animal content. Our library is built for simple integration. No complex licensing. Just great photos.
Fix Your Feed Today
Mistakes are easy to make. They are also easy to fix. If you don't have the time to wait for the perfect light or the right behavior, use our library.
We offer:
- High-resolution stock photography.
- Specialized "Presented by" layouts.
- Engaging species spotlights.
- Simplified digital media solutions.
Stop settling for "okay" photos. Use imagery that does justice to the animals and your brand.
For more tips on animal photography and digital media solutions, follow us on LinkedIn or visit our website.
Get better photos. Tell better stories.

