7 Mistakes You’re Making with Your Zoo Animal Photos (and How to Fix Them Today)
Great photography moves people. In the world of zoos and conservation, a single image can spark a donation or a lifelong interest in a species. But taking a photo through a fence or thick glass isn't always easy. Most people settle for "good enough."
At Zoo Imagery, we don’t settle. Whether you are building a sponsored species spotlight or creating content for a "Presented by" animal page, quality is the baseline.
Here are the seven most common mistakes we see in zoo photography and how you can fix them right now.
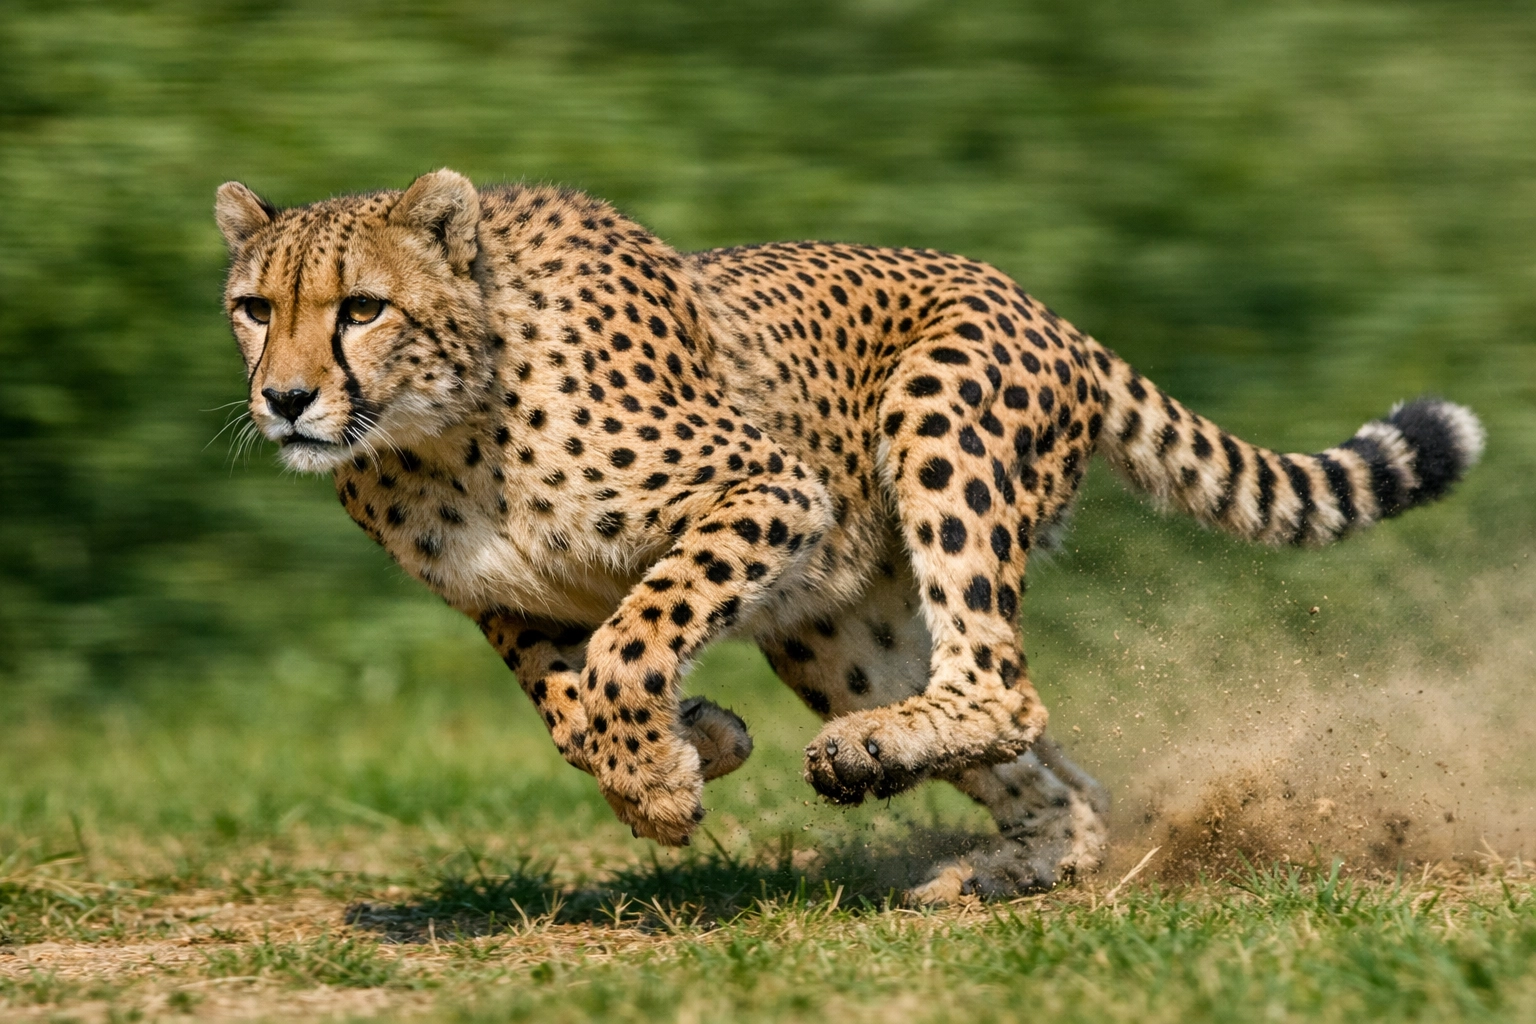
1. The Blurry Subject (Slow Shutter Speed)
Motion blur kills impact. Animals move. Even when they seem still, they twitch. Their ears flick. Their eyes blink.
The Mistake:
Using a slow shutter speed to compensate for low light. This results in soft images. A blurry tiger isn't majestic; it's a mistake.
The Fix:
Speed it up.
- Minimum 1/500 sec for resting animals.
- 1/1000 sec or higher for movement.
- 1/3200 sec for birds in flight.
Don't be afraid of high ISO. Modern cameras handle digital noise well. Post-processing software can fix grain. Nothing can fix motion blur.
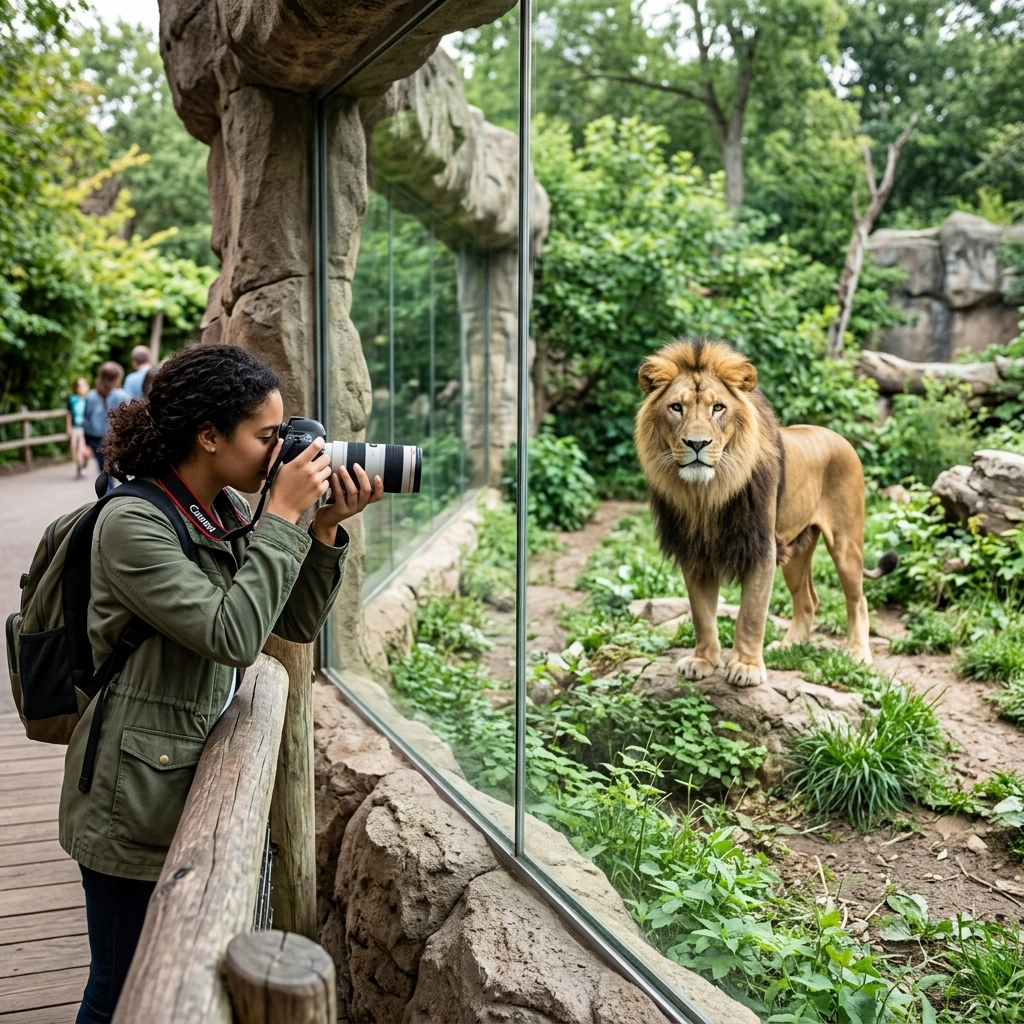
2. Missing the Eyes (Poor Focus)
The eyes are the connection. If the eyes aren't sharp, the photo is a discard.
The Mistake:
Letting the camera choose the focus point. Often, the camera locks onto a branch, a blade of grass, or the animal’s shoulder. Worse, it locks onto the chain-link fence in the foreground.
The Fix:
- Use Single Point AF.
- Aim for the eye closest to the lens.
- Use Animal Eye Tracking if your camera has it.
- Switch to manual focus if fences are interfering.
A sharp eye creates a "Presented by" page that actually converts visitors into fans. Check our blog for more technical breakdowns on focus modes.
3. The "Dead Center" Shot (Boring Composition)
Placing the animal directly in the middle of the frame is the default move. It is also the most boring move.
The Mistake:
Centering the subject every time. It feels static. It lacks energy. It doesn't tell a story of where the animal is going or what it is looking at.
The Fix:
The Rule of Thirds.
- Imagine your frame divided into a 3×3 grid.
- Place the animal’s head or body on one of the intersecting lines.
- Give the animal "lead room." If the lion is looking left, place him on the right side of the frame so he has space to "look into."
Good composition makes stock photography feel premium. It gives designers room for text and logos.

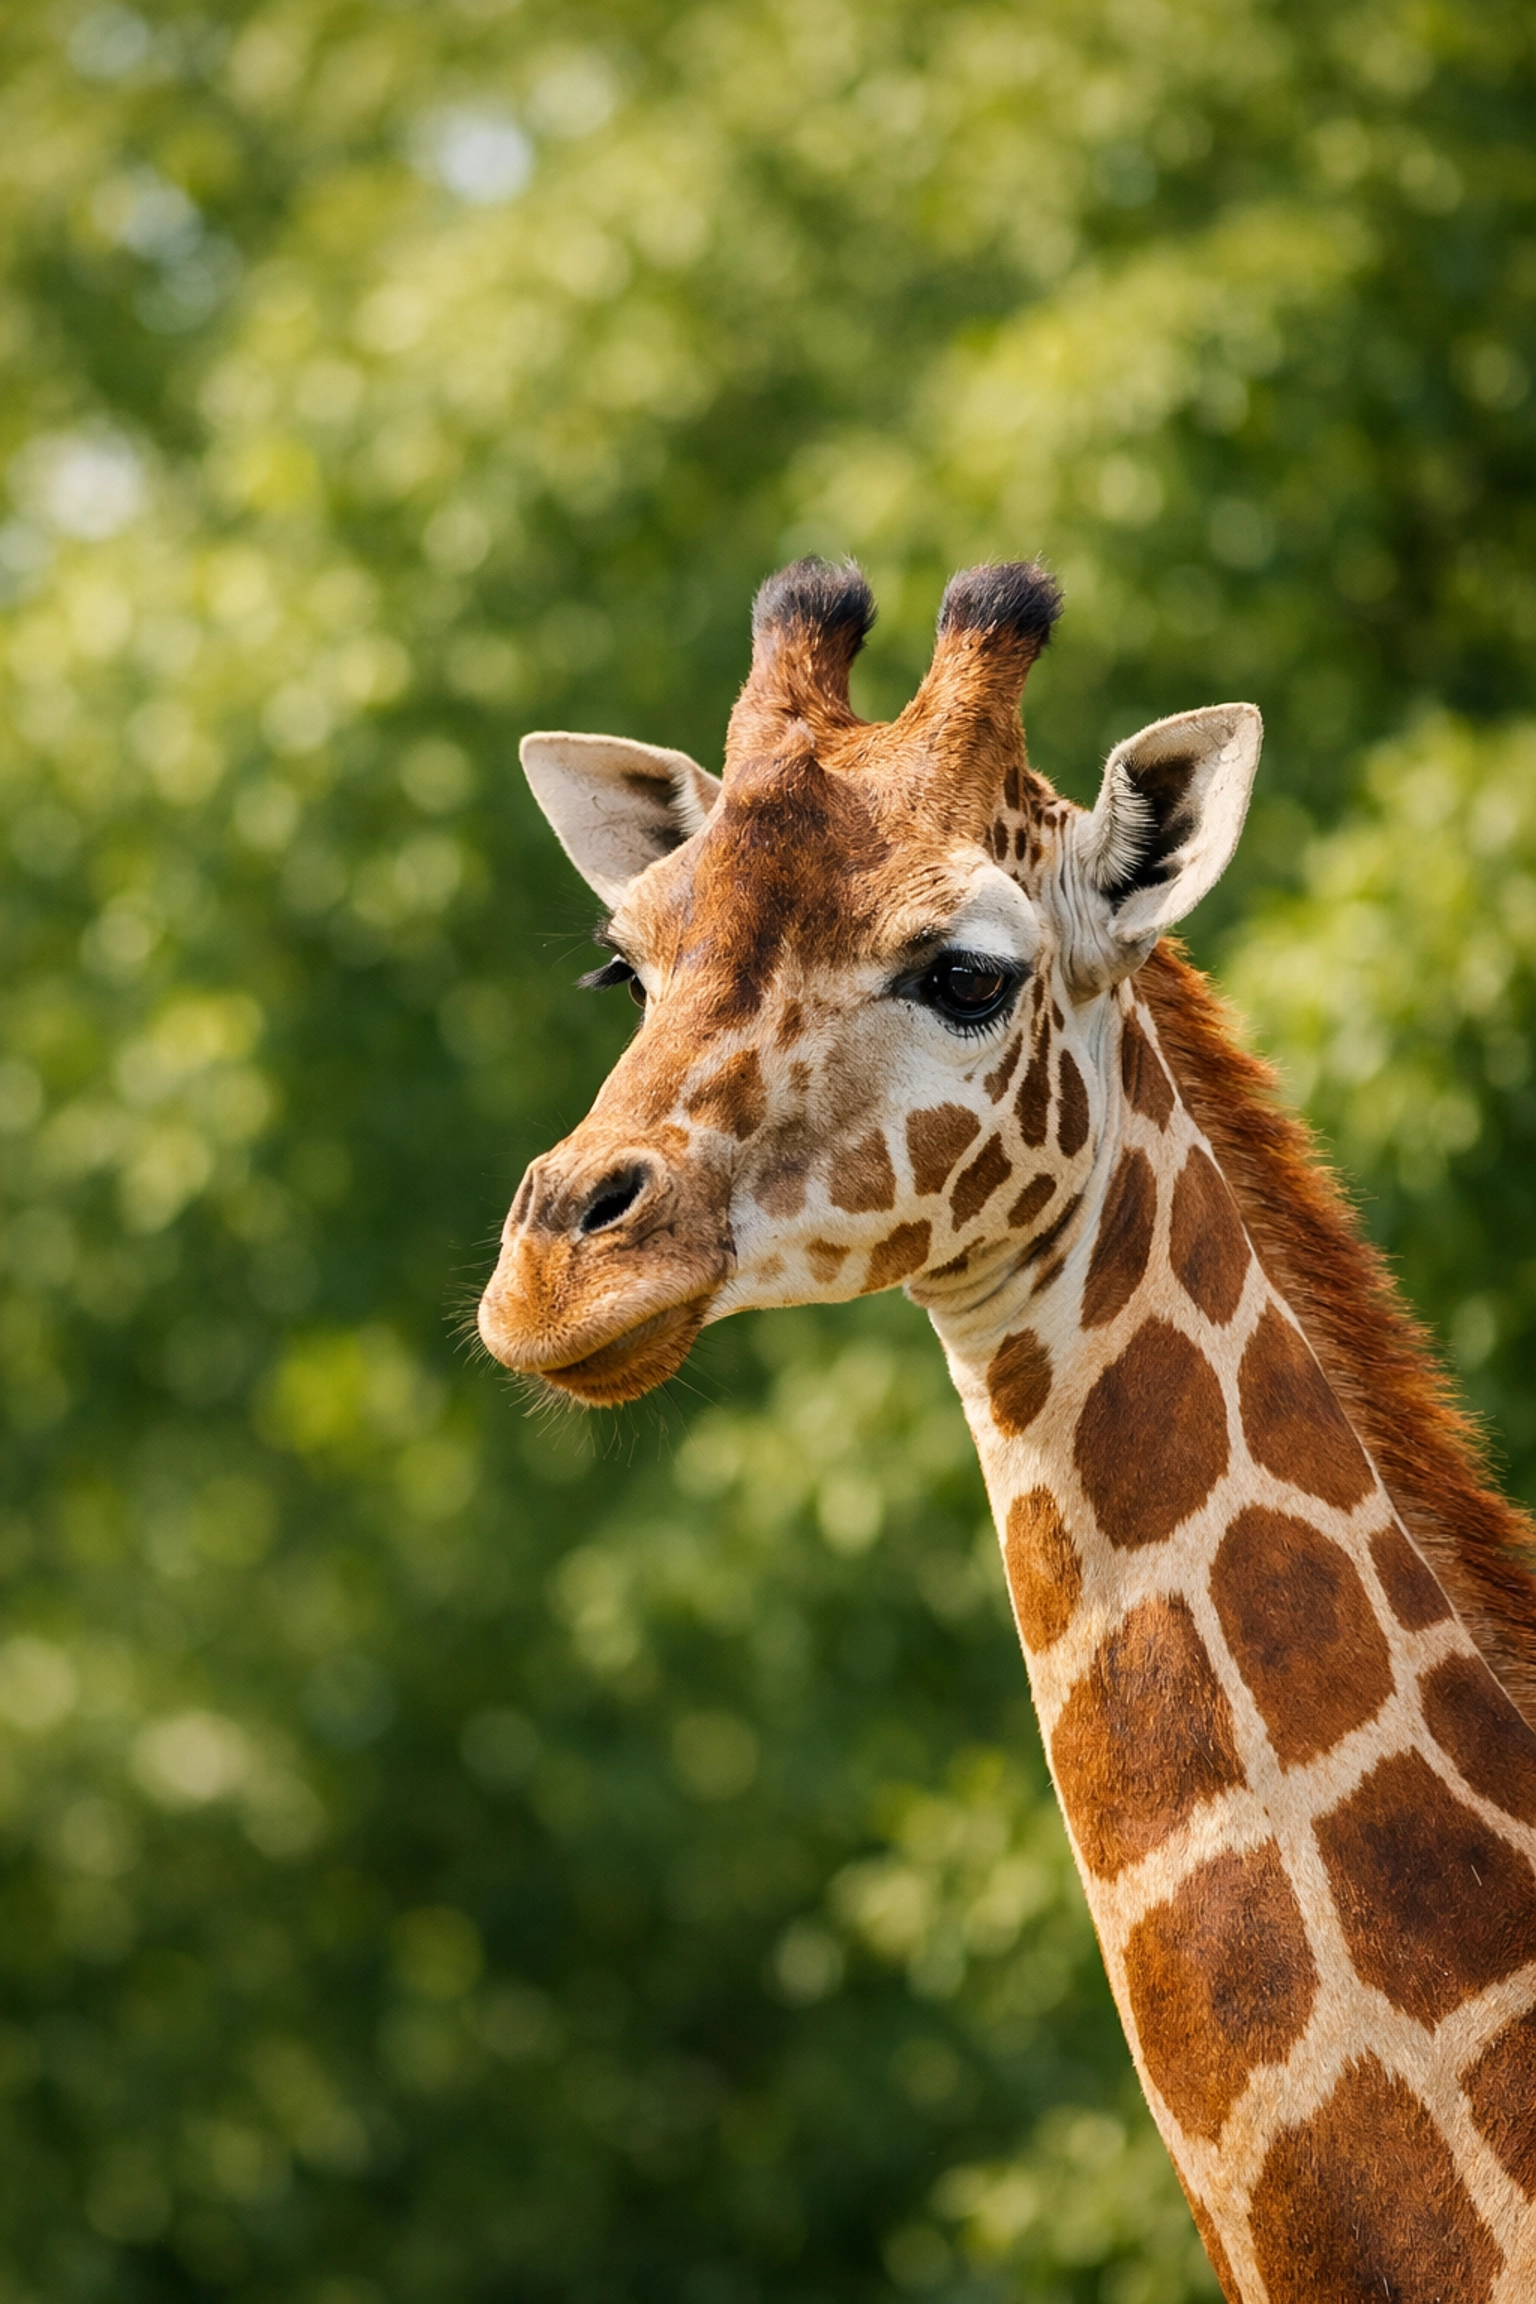
4. Cluttered Backgrounds
A great photo of a giraffe is ruined by a bright red "Exit" sign or a trash can in the background.
The Mistake:
Focusing so hard on the animal that you forget to look at the rest of the frame. Human-made objects break the immersion of conservation storytelling.
The Fix:
- Move your feet. A few steps left or right can hide a sign behind a tree.
- Use a wider aperture (f/2.8 or f/4). This creates a shallow depth of field.
- It blurs the background into a soft, green wash.
- The animal pops. The "zoo" feel disappears.
Simple backgrounds keep the focus on the species. That is the goal of every sponsored spotlight.
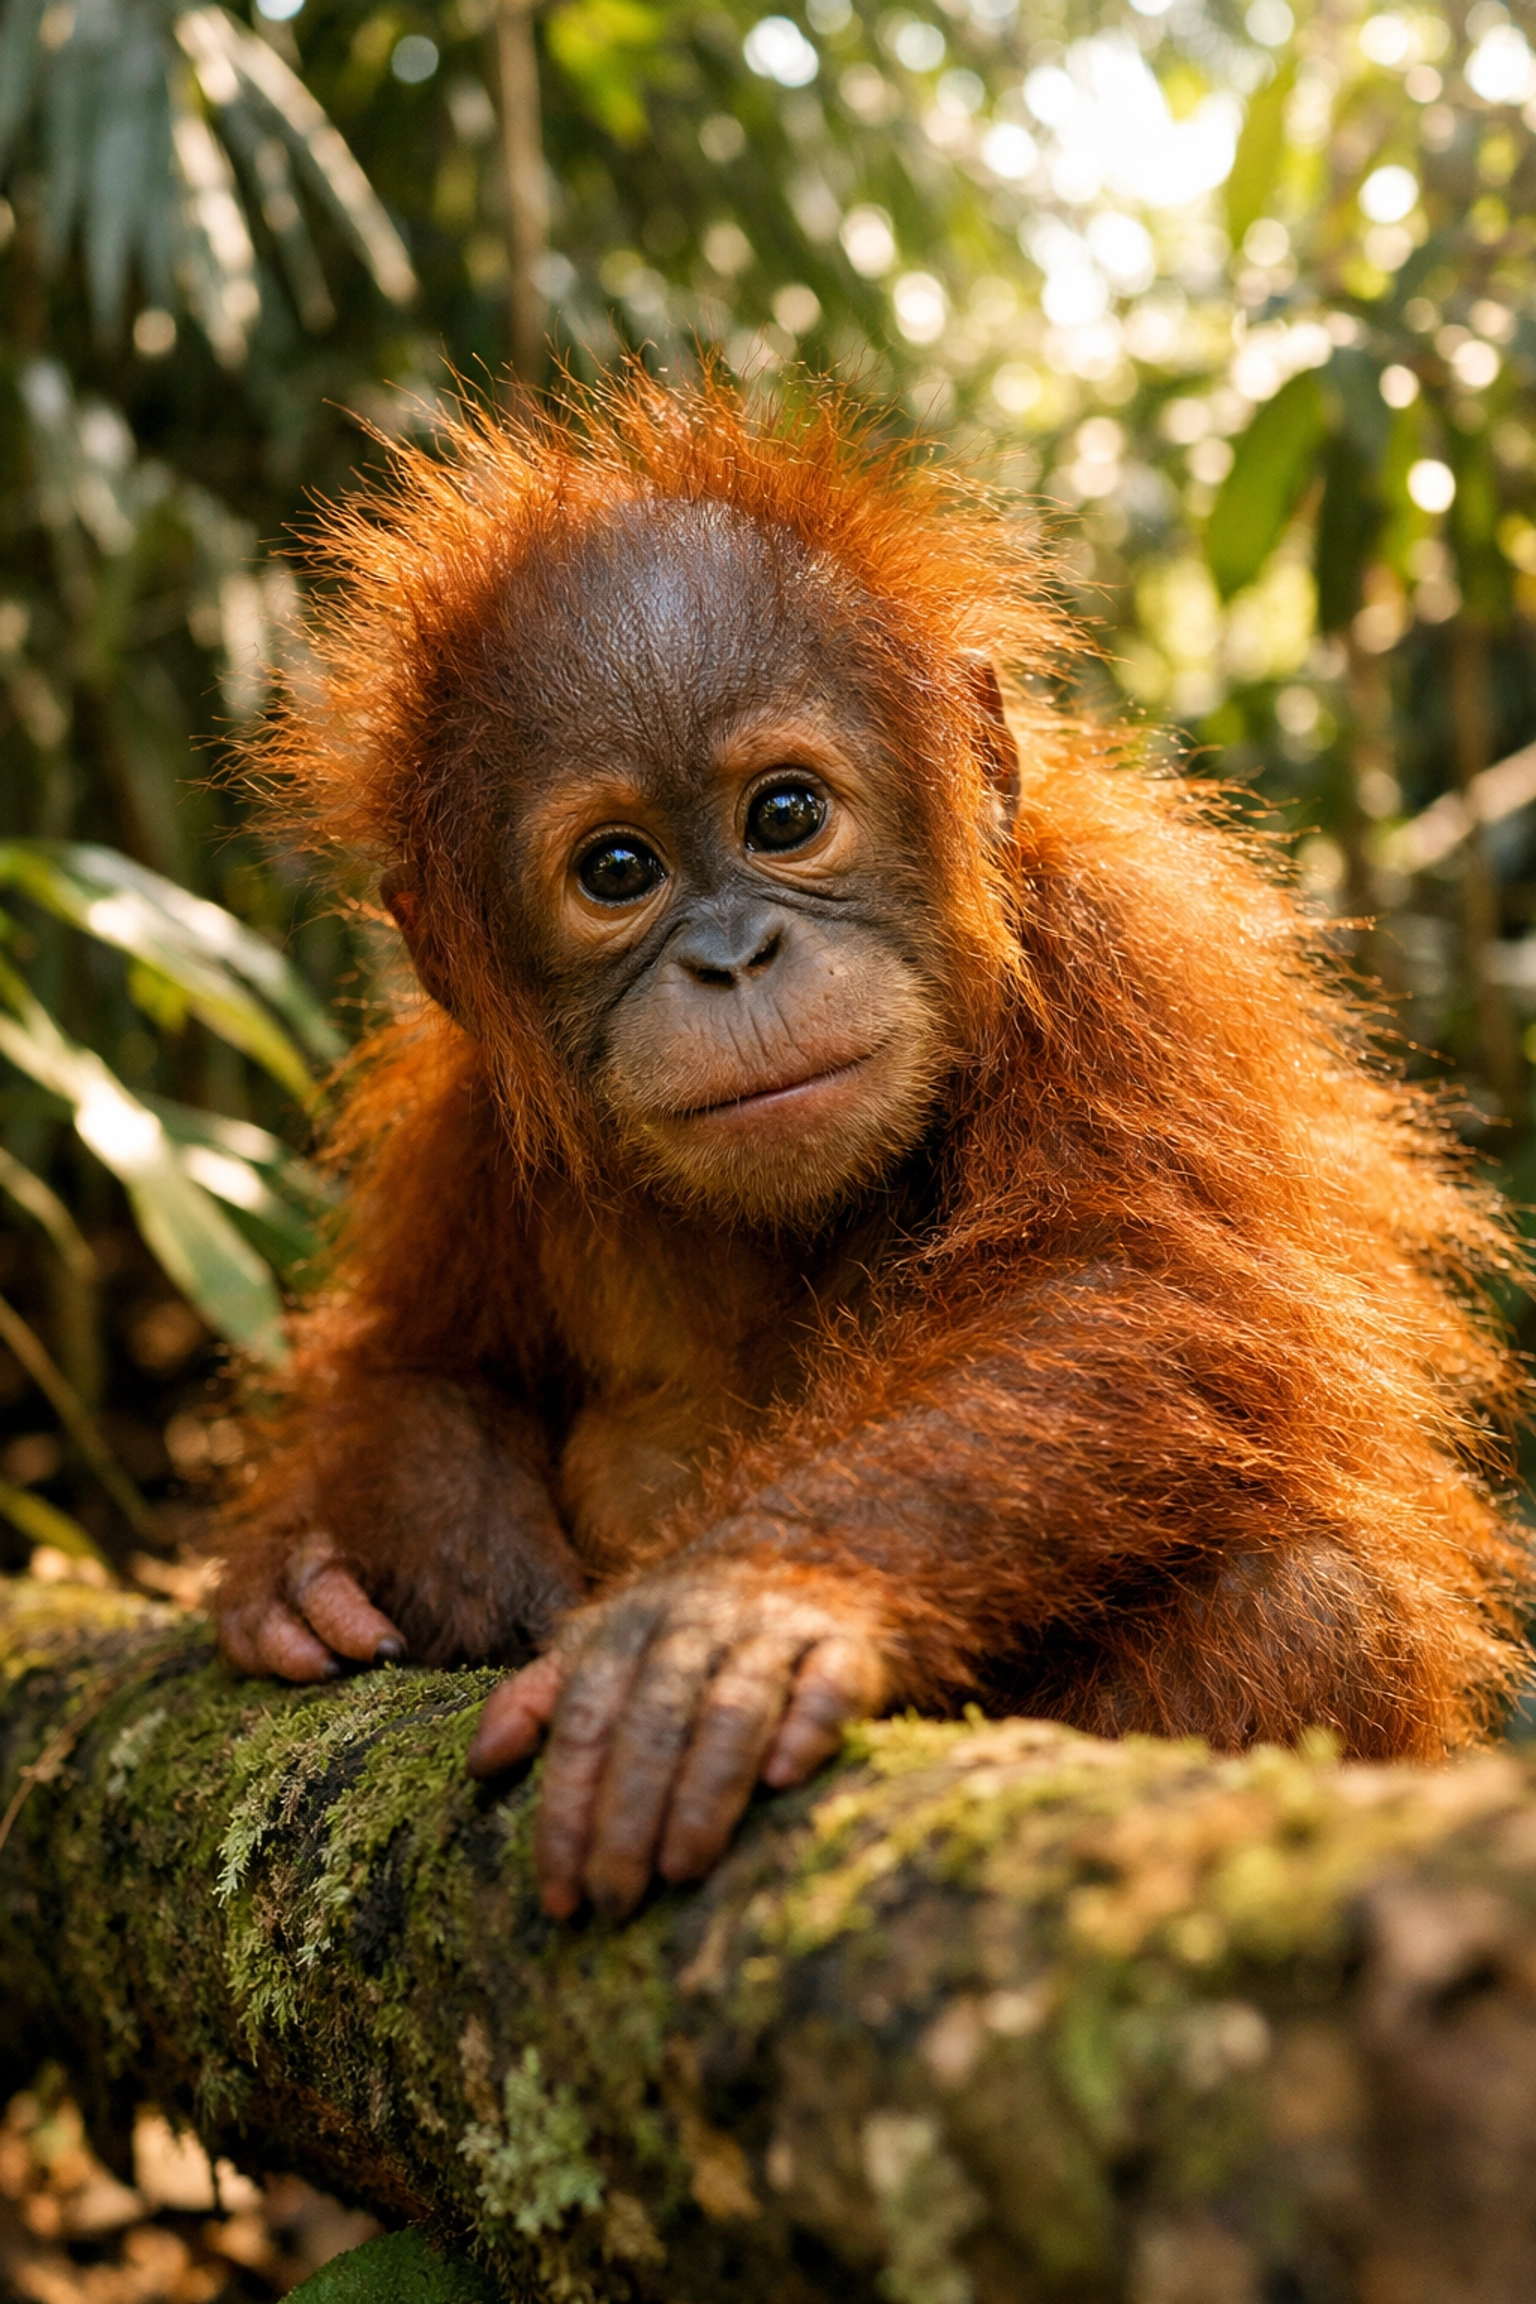
5. Shooting from Human Height
Most people walk up to an enclosure and take a photo from five or six feet up. This is the perspective everyone sees every day. It is uninspiring.
The Mistake:
Looking down on the animal. This makes the animal look smaller and less significant. It creates a psychological distance between the viewer and the subject.
The Fix:
Get on their level.
- Crouch down.
- Sit on the ground.
- If the animal is high up, find a higher vantage point.
- Eye-level shots create intimacy.
When a viewer looks an orangutan in the eye at the same level, they feel a connection. That connection drives engagement.
6. The "Portrait Only" Trap
We all want the tight headshot. But a zoo is more than just faces.
The Mistake:
"Tunnel vision." Only taking close-up portraits. You miss the environment, the interactions, and the behavior.
The Fix:
Tell the whole story.
- Wide shots: Show the scale of the habitat.
- Interaction: Capture the moment two animals play or groom.
- Details: A close-up of a feather, a paw, or skin texture.
This variety is essential for digital media kits. It allows for a more complete about-us narrative for the facility.
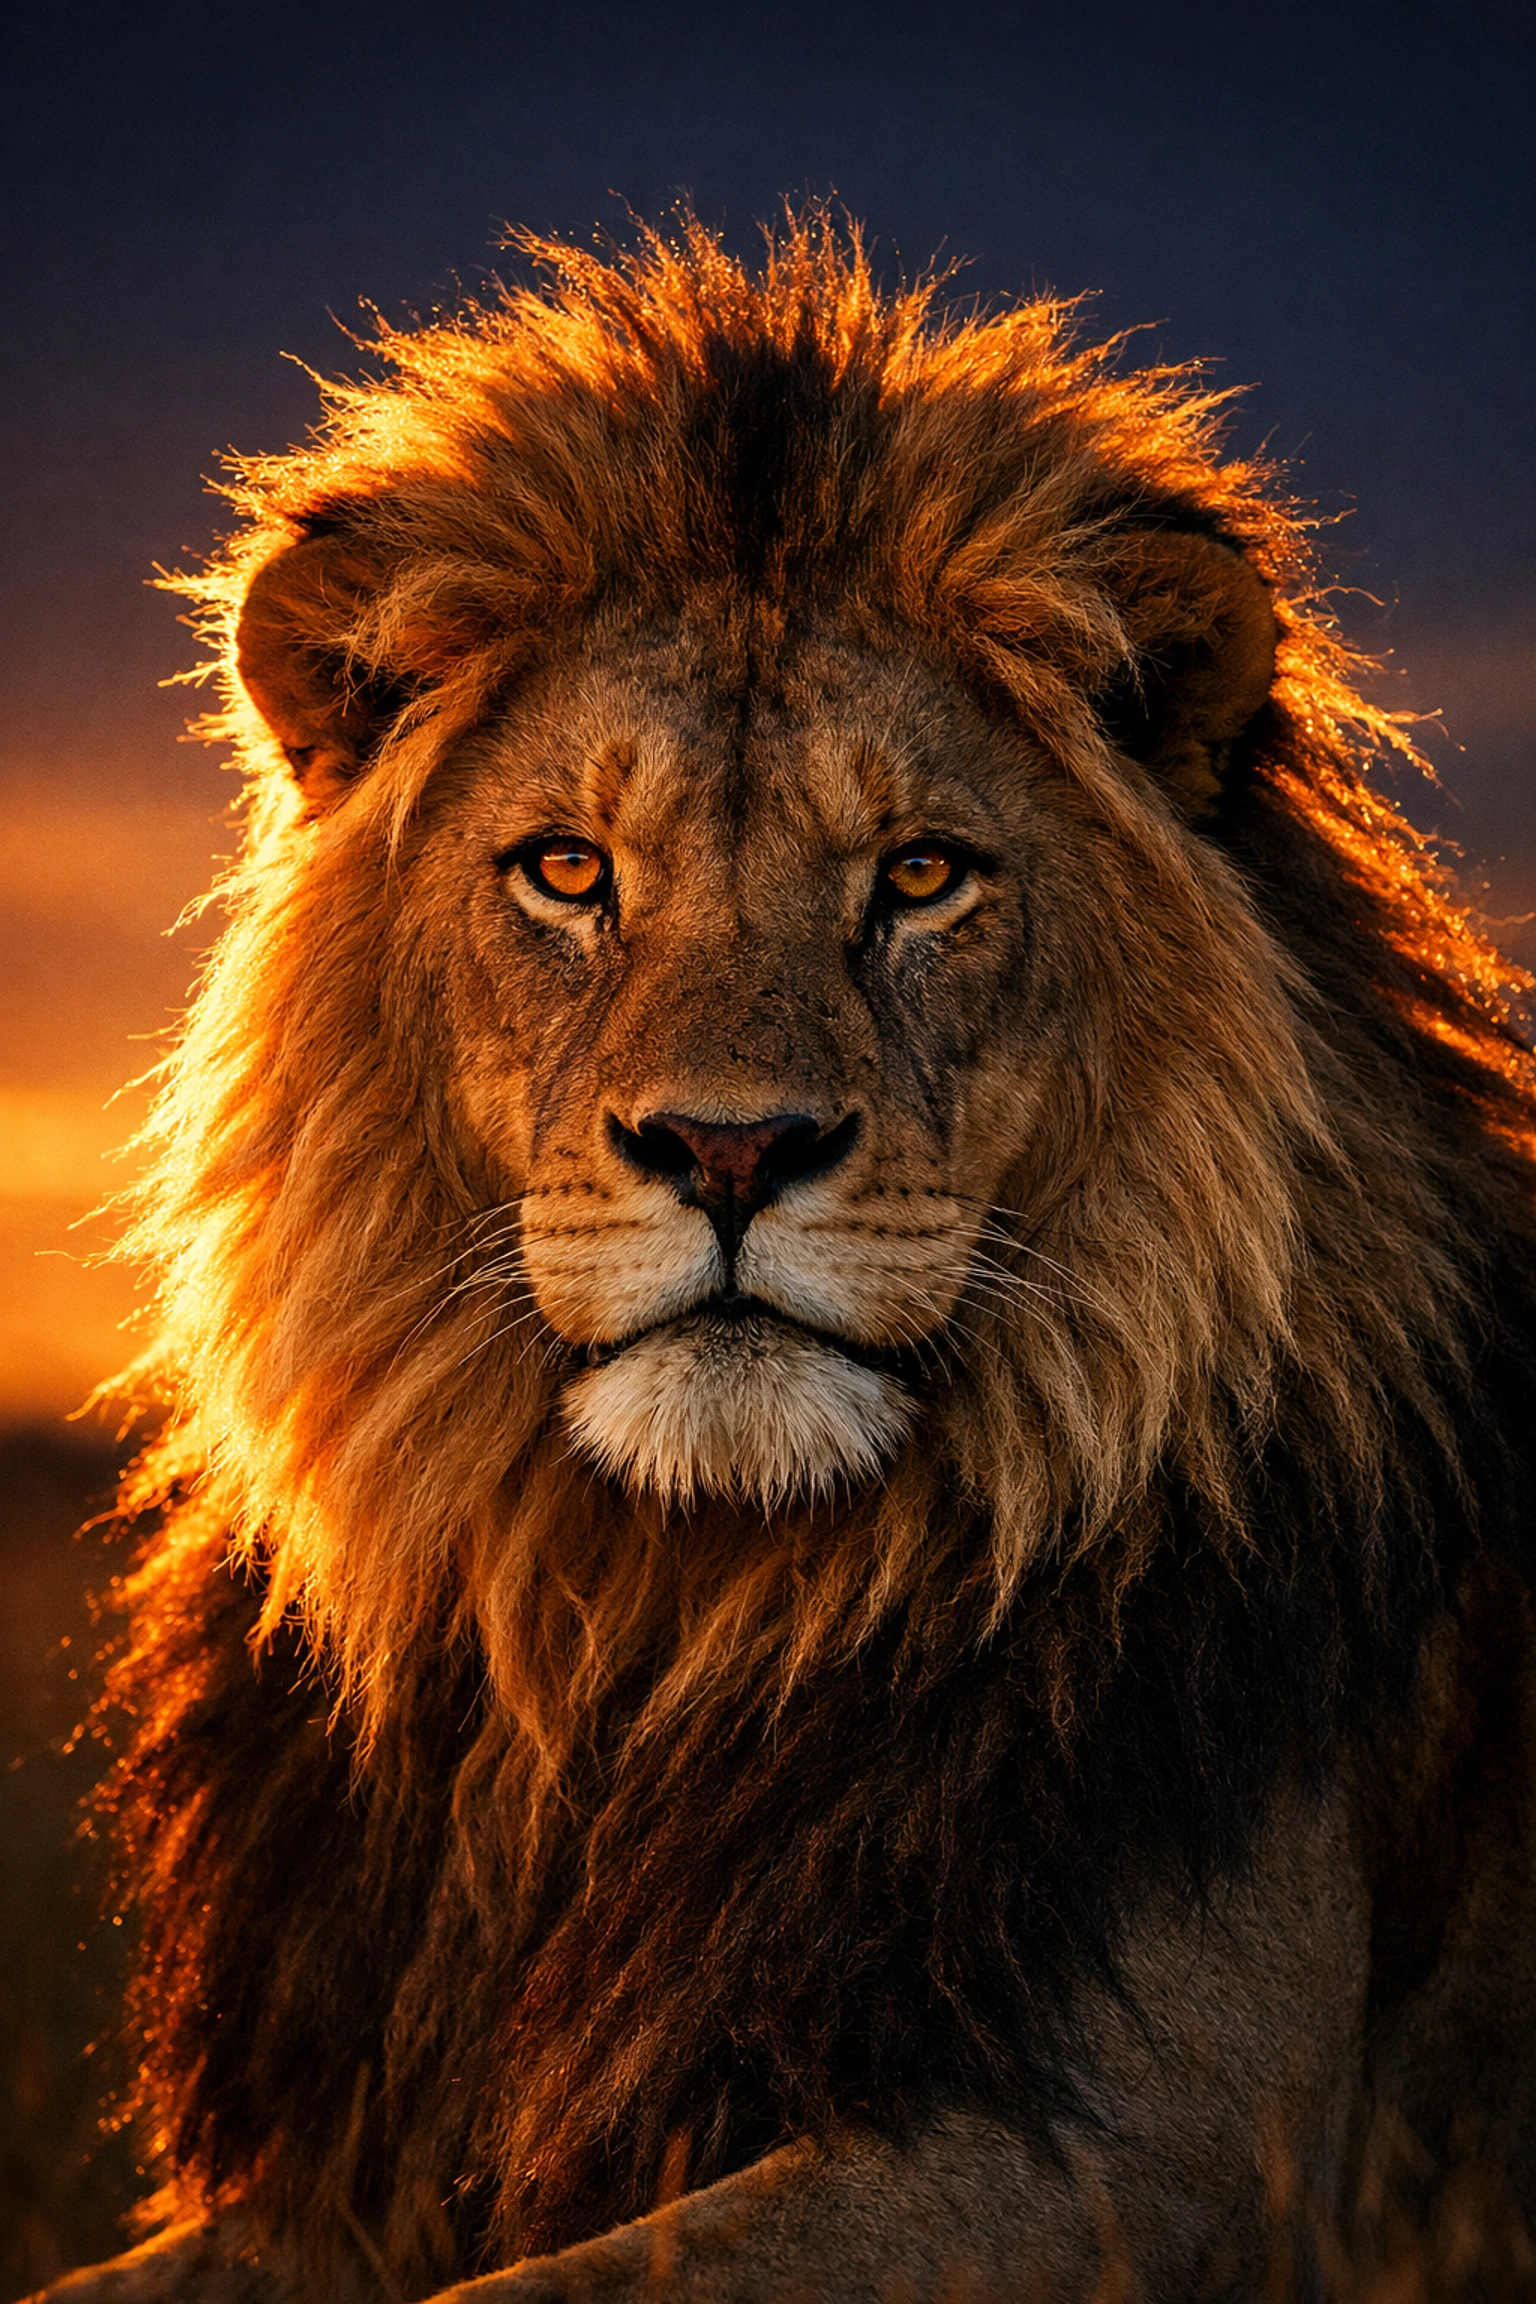
7. Working Against the Light
Midday sun is a photographer’s enemy. It creates harsh shadows under the eyes and blown-out highlights on fur.
The Mistake:
Shooting at noon and expecting professional results.
The Fix:
- Golden Hour: The hour after sunrise and the hour before sunset. The light is soft and warm.
- Overcast days: Clouds act as a giant softbox. This is the best time for animal photography. It brings out the true colors and textures of fur and scales.
- Backlighting: Put the sun behind the animal. It creates a "rim light" around their silhouette. It looks high-end.
Why This Matters for Your Brand
Zoo Imagery isn't just about pretty pictures. It is about communication.
High-quality visuals are the backbone of:
- Sponsored species spotlights.
- ESG-aligned campaigns.
- Educational outreach.
- Professional stock libraries.
When the imagery is sharp, the message is clear. When the imagery is amateur, the brand suffers.
Quick Checklist for Your Next Visit:
- Shutter Speed: Fast.
- Focus: On the eye.
- Composition: Off-center.
- Background: Clean.
- Level: Eye-to-eye.
- Story: Beyond the face.
- Light: Soft and angled.
Elevate Your Imagery
If you are a zoo professional or a corporate sponsor, you know the power of a great visual. Don't let these simple mistakes hold back your conservation story.
We specialize in high-end stock photography and digital media solutions tailored for the zoological industry. We help you showcase your animals in the best possible light, literally.
Better photos. Better brand. Better impact.
Ready to upgrade your visual assets?

