10 Reasons Your Zoo Animal Photos Aren’t Engaging (And How to Fix It)
Taking photos at the zoo seems easy. The animals are there. They don't run away into the brush. But most zoo photos feel flat. They look like snapshots. They lack the "wow" factor of professional wildlife photography.
At Zoo Imagery, we see thousands of animal images. We know what works. We know what falls short.
If your photos aren't grabbing attention, it's usually because of a few simple mistakes.
Here are 10 reasons your zoo photos aren't engaging and how to fix them.
1. You’re Shooting from "Human Height"
Most visitors stand at the railing and shoot from eye level. Their eye level. This creates a downward angle on the animal. It feels distant. It feels like a tourist looking into a box.
The Fix: Get low.
Kneel. Sit. Use a flip-out screen. Shoot from the animal’s eye level. This creates an immediate emotional connection. It puts the viewer in the animal's world, not looking down on it.

2. The "Invisible" Barriers are Visible
Fences. Mesh. Bars. These are the fastest ways to ruin a photo. They remind the viewer they are at a zoo. They break the illusion of nature.
The Fix: Physics is your friend.
Get your lens as close to the fence as possible. Use a wide aperture (f/2.8 or f/4). Use a long focal length. This makes the mesh "melt" away. It becomes a soft, unnoticeable blur.
3. Glass Reflections are Stealing the Show
Shooting through glass is hard. Smudges, glare, and reflections of the person standing behind you show up in the frame.
The Fix: Eliminate the gap.
Press your lens hood directly against the glass. This blocks out light from the side. Use a circular polarizer to cut remaining glare. If the glass is dirty, find a clean spot or wait for a different angle. Avoid using a flash: it will only bounce back and ruin the shot.
4. Your Background is a Mess
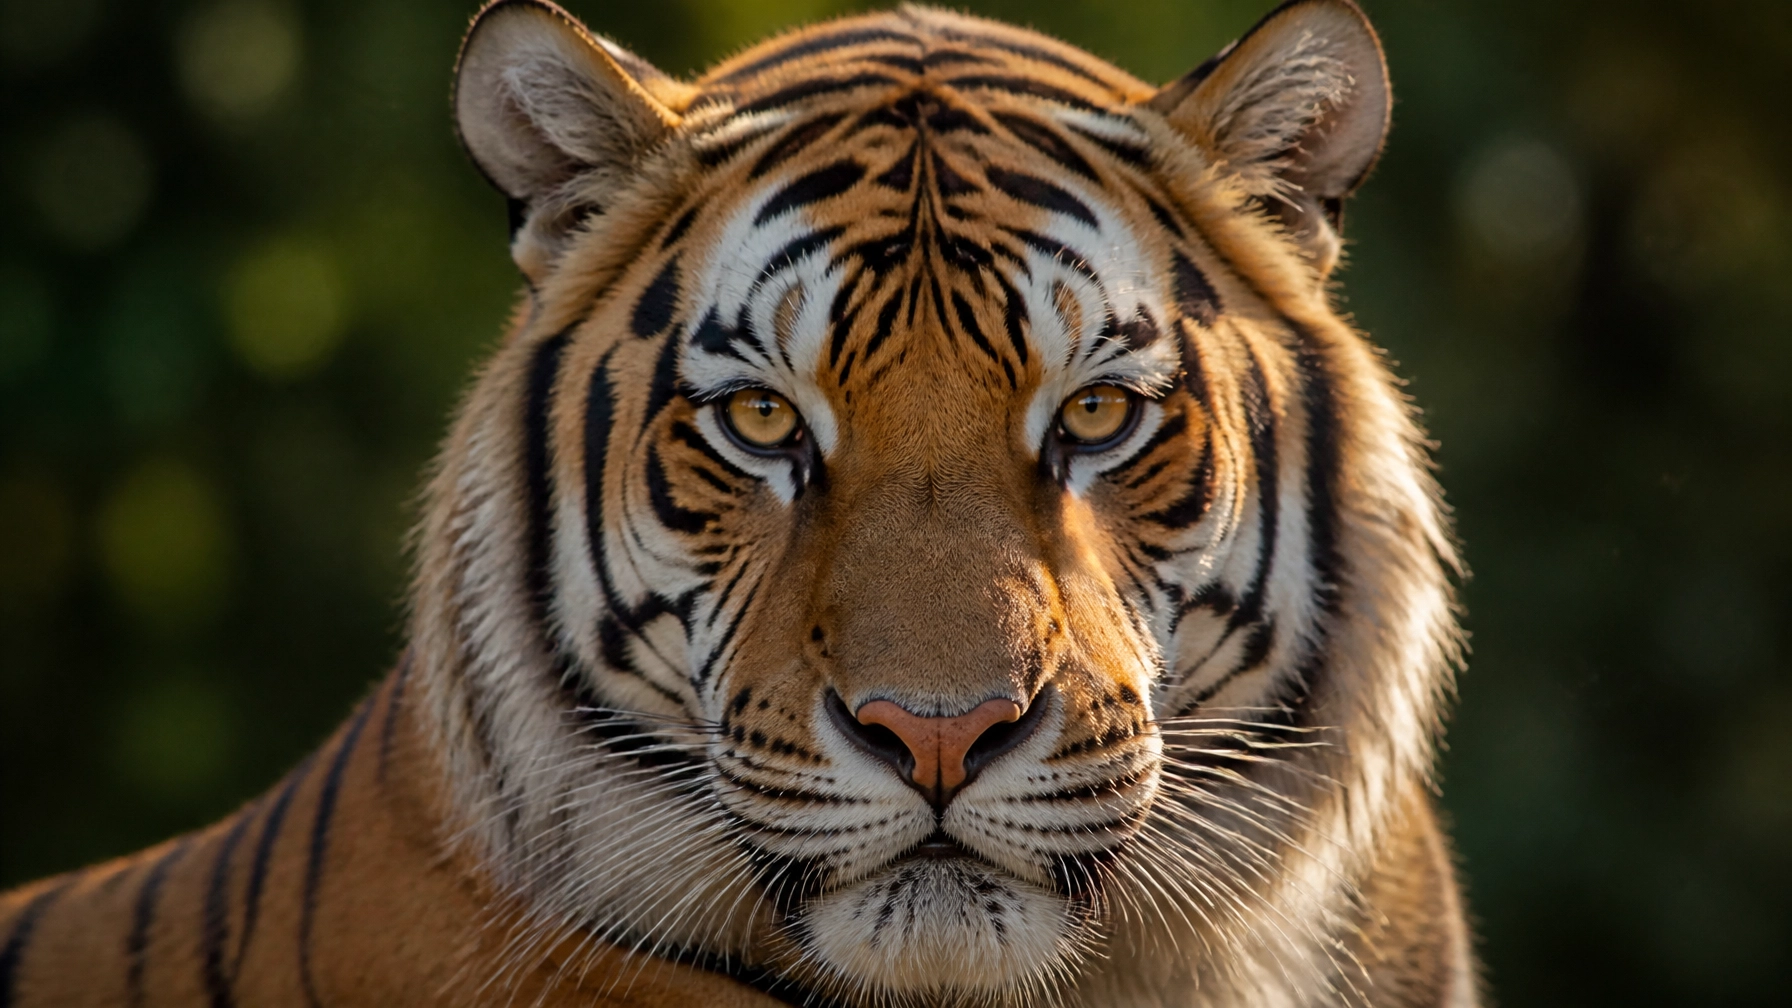
A beautiful tiger looks less majestic when there’s a concrete wall or a "Keep Out" sign behind its head. Busy backgrounds distract from the subject.
The Fix: Change your position.
Move a few feet to the left or right. Wait for the animal to move into a patch of greenery. Use a shallow depth of field to blur the background into a smooth "bokeh." At Zoo Imagery, we specialize in photos with clean, natural-looking backgrounds that keep the focus on the species.
5. You’re Not Waiting for "The Moment"
Most people walk up, snap a photo of a sleeping lion, and move on. Static photos are boring. They don't tell a story.
The Fix: Patience.
Wait for a yawn. A stretch. Interaction with a mate. A look toward the camera. Professional wildlife photographers spend hours for one shot. Spend ten minutes at one exhibit instead of one minute at ten.
6. Harsh Midday Lighting
Zoos open when the sun is high. This creates deep shadows and blown-out highlights. It makes fur look flat and eyes look dark.
The Fix: Seek the shade or the "Golden Hour."
Shoot in the early morning or late afternoon. If it’s midday, look for animals in shaded areas of their enclosure. Overcast days are actually perfect for zoo photography. The clouds act as a giant softbox, creating even light that brings out details in fur and feathers.
7. Missing the Focus on the Eyes
If the eyes aren't sharp, the photo is a discard. Viewers naturally look at the eyes first. If the camera focuses on a shoulder or a nearby branch, the connection is lost.
The Fix: Single-point focus.
Don't let the camera choose where to focus. Set your focus point manually. Aim for the eye closest to the camera. Ensure your shutter speed is fast enough (at least 1/500s for active animals) to prevent motion blur.
8. The "Mugshot" Composition
Centering every animal in the middle of the frame is a common mistake. It feels static and uninteresting.
The Fix: The Rule of Thirds.
Place the animal’s eyes on one of the upper intersections of your grid. Give the animal "room to look" or "room to walk" into the frame. This creates a sense of movement and intention.
9. Distracting Color Casts
Zoo glass is often tinted. This can make your photos look green or blue.
The Fix: Custom White Balance.
Don't rely on "Auto White Balance." Set it manually or shoot in RAW format. Shooting in RAW allows you to fix the color temperature easily in post-processing without losing quality.
10. No Context or Story
An "ID shot" shows what an animal looks like. A "story shot" shows who they are.
The Fix: Wide vs. Tight.
Take the close-up, but also take a wider shot that shows the animal’s environment. Look for interactions. Capture the scale of a giraffe against a tree. Use these images to tell a story about conservation and the species' habitat.
How Zoo Imagery Can Help
We understand that not everyone has the time to wait hours for the perfect shot. That’s why we created our stock photo library. We provide stunning, high-resolution animal photography for creative professionals and marketers.
Whether you need a polar bear, a wild tiger, or a majestic eagle, we’ve done the waiting for you.
For Zoos and Aquariums: ZooMedia.us
Engaging your visitors is about more than just your own photos. It's about their photos too. Our ZooMedia.us app helps zoos leverage guest photography. It allows visitors to share their best moments easily, creating a stream of authentic, user-generated content that boosts your ROI and social engagement.

Sponsored Species & "Presented By" Pages
We also offer "Presented by" animal pages and sponsored species spotlights. These are high-impact ways for brands to align with conservation efforts and ESG goals.
Imagine a beautifully curated page for a Snow Leopard, sponsored by a brand that cares about wildlife. It’s clean. It’s professional. It’s effective.

Simple Summary
- Get low.
- Lens to the glass.
- Blur the fence.
- Watch the light.
- Focus on the eyes.
- Wait for action.
- Clean the background.
- Use the rule of thirds.
- Fix the color.
- Tell a story.
Ready to take your project to the next level with world-class animal imagery?
Explore the Zoo Imagery Library
Or follow our journey on LinkedIn for more tips and species spotlights.


